Install the Root CA in Your Browser
The Hotel GUI application uses a self-signed root CA for the certificates which are used for https sessions or for SSL communication between the FWD Application Server and the FWD Clients. When accessing a FWD Web Client, unless the self-signed root CA is imported in your browser as a trusted root CA, you will be prompted by your browser to add an exception for the certificate. You can solve this by importing the hotel root CA into your browser. Also, note that this will work only if you access the FWD Web Client and the FWD Embedded App Demo via localhost - the SSL certificates have been created for localhost.
Depending on your browser, follow the steps below to install the root certificate. In all cases, the root CA is saved in the deploy/server/hotel-root.der file.
Installing the Root CA in Mozilla Firefox
For Firefox, follow these steps:- Open the
Preferencesmenu, look for theAdvancedsub-menu. - Select
Certificatesand click onView Certificates.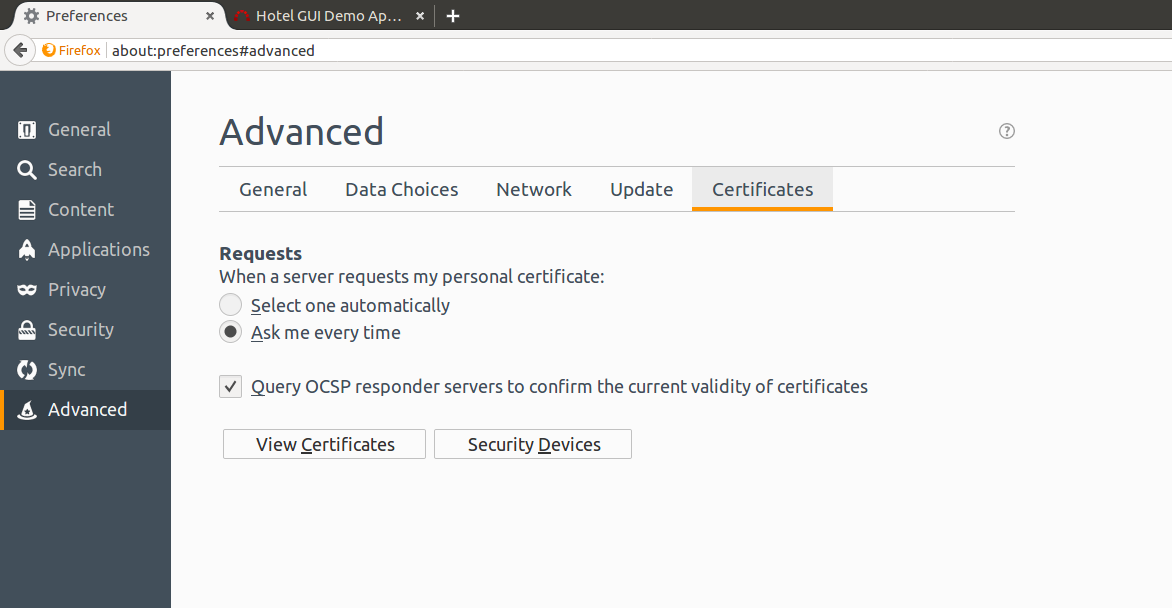
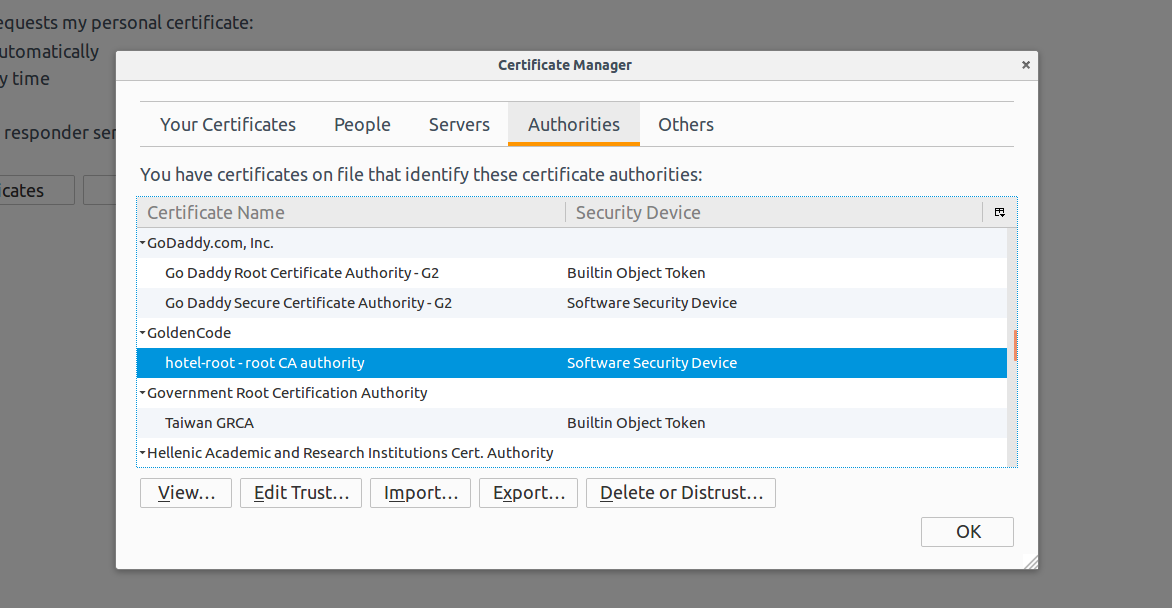
- Select
Authorities.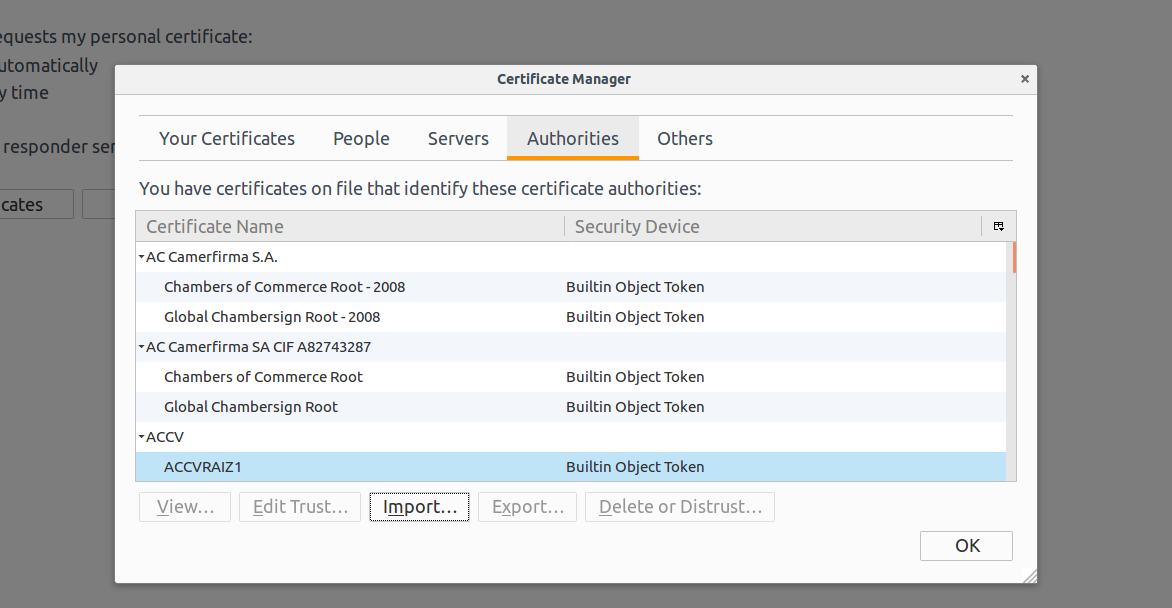
- Click the
Import...button. - Search for and select the
deploy/server/hotel-root.derfile. - Select the first option,
Trust this CA to identify websites..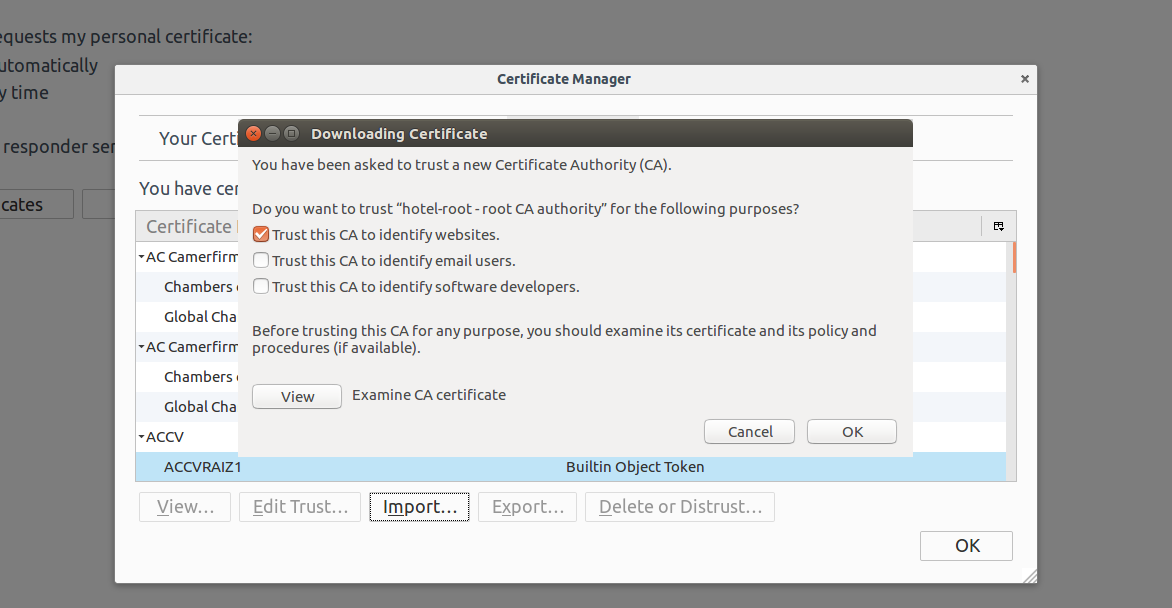
- Click OK and the root CA will be imported, and you will find it in this list.
Installing the Root CA in Google Chrome on Ubuntu
For Google Chrome on Ubuntu, follow these steps:- Open the
Settingsmenu, click onShow Advanced.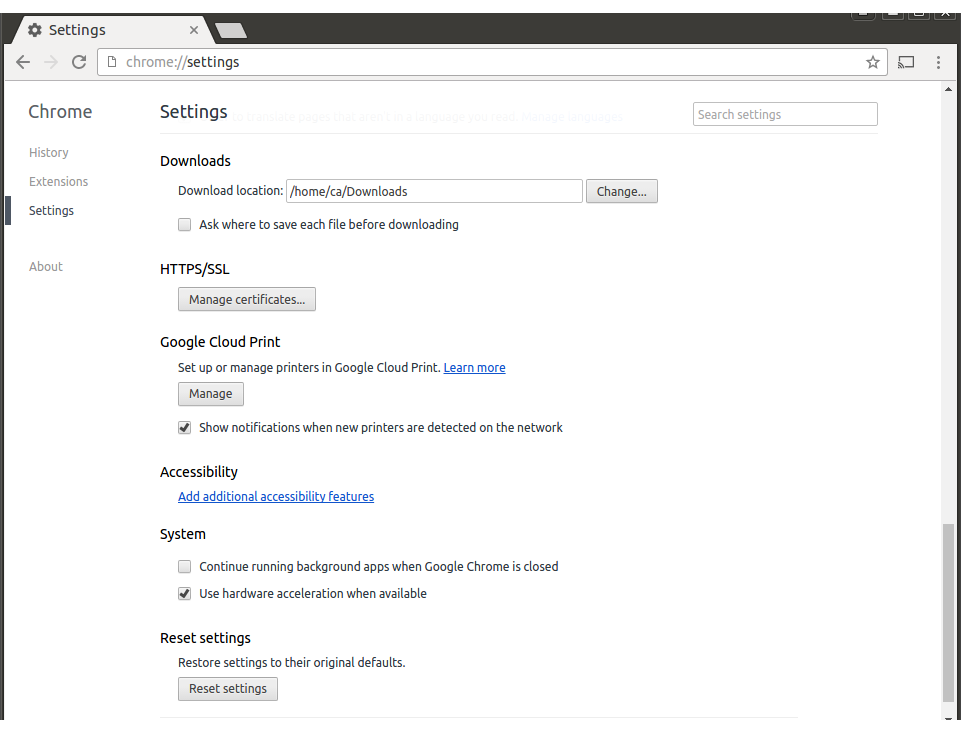
- Click on
Manage Certificates, then selectAuthorities.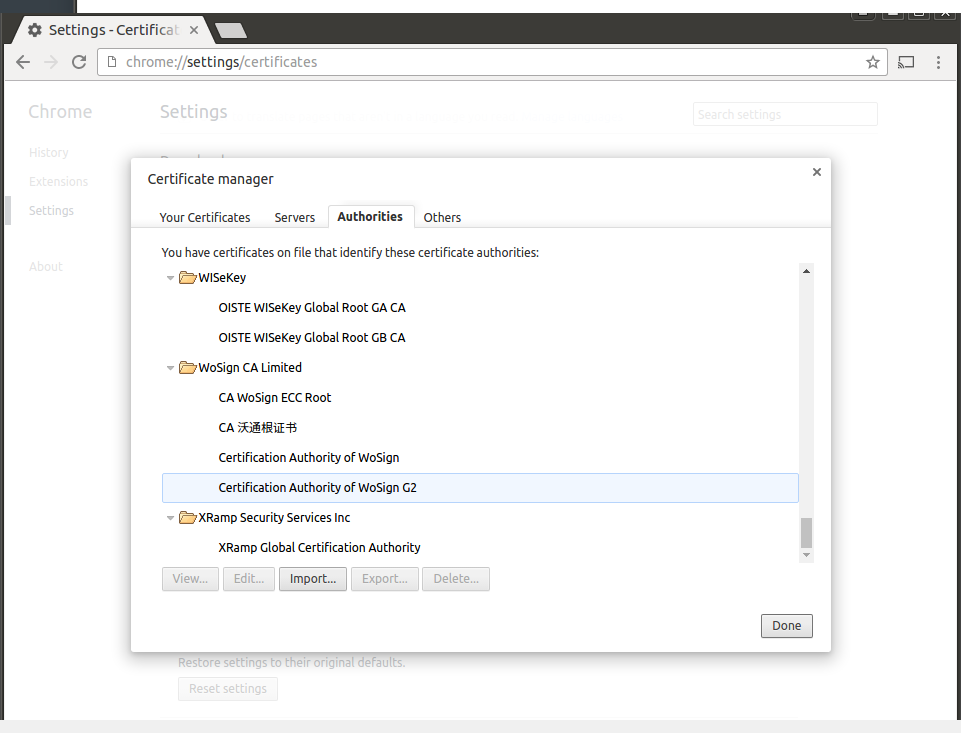
- Click on
Import..., traverse the folders to find thedeploy/server/hotel-root.derfile. If the selection dialog doesn't show it, select theDER-encoded binary, single certificatefrom the lower-right selection list. ClickOpenafter you've selected the.derfile. - Select the first option,
Trust this certificate for identifying websites..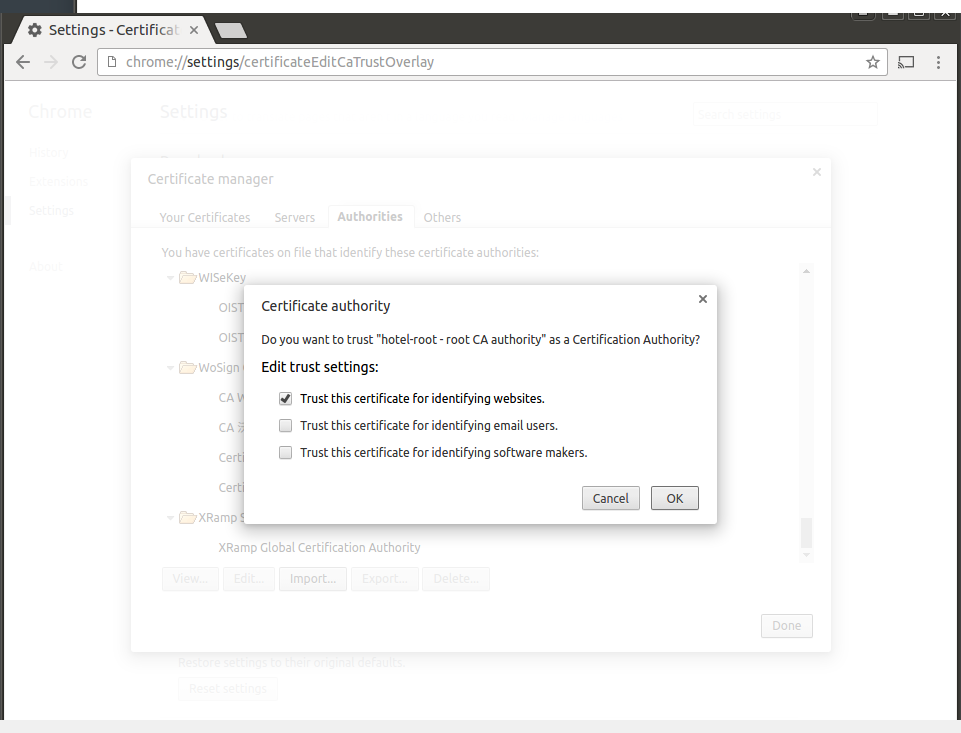
- Click OK and the root CA will be imported, and you will find it in this list.

Installing the Root CA in Google Chrome on Windows
- Like in Linux, open the
Settingsmenu, click onShow Advanced, then click onManage Certificates. - This
Certificatesdialog opens.
- Click on
Import.... The Certificate Import Wizard opens.
- Click
Next >.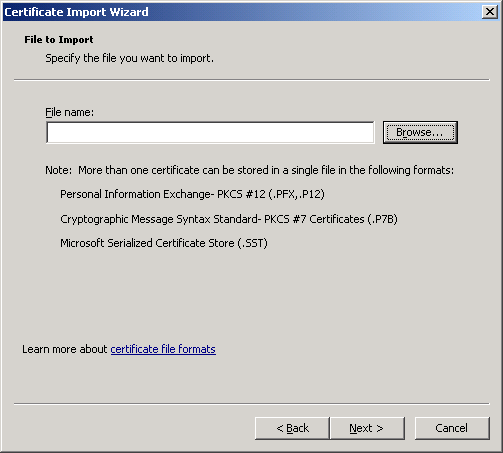
- Type in the path to the certificate (
c:\projects\hotel\deploy\server\hotel-root.der), or use theBrowsebutton to navigate and select the certificate. Then clickNext >.
- Select
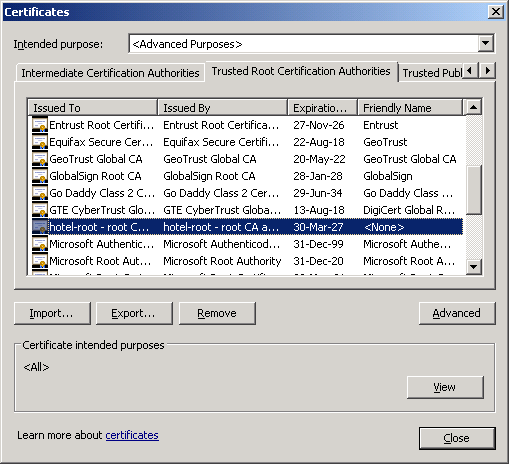
Place all certificates in the following storeif not already selected.Trusted Root Certification Authoritiesshould be selected as in screen-shot. ClickNext >.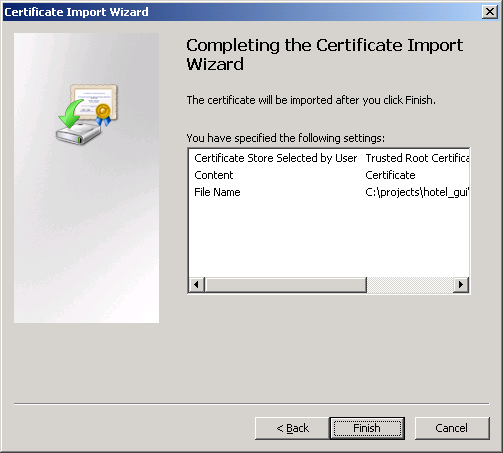
- Confirm the import by pressing
Finish. The certificate is imported and you can see it in the list.