Configuring OpenEdge Projects
Upon creating any of the project types described below, at least a Procedure Libraries container and a build.config file are generated. The procedure libraries directory contains compiled dependencies. They are grouped in .pl directories and are gui/tty specific. Most of these directories are common among the project types, but some projects contain some some dedicated dependencies.
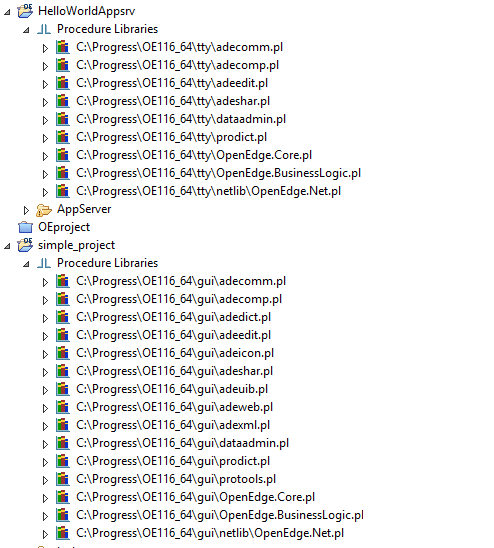
The build.config contains the project configuration. As its docs suggest,
// This enables to extract the project's property settings along with the project so that the
// development and integration environment can use the same configuration. This also enables to use the
// same configuration settings across multiple development workspaces.
The user can modify settings, such as startup parameters, saveRcode, various AVM options, etc.
A Simple GUI/TTY Project - OpenEdge/ChUI
This section documents how to create a simple program in GUI/ChUI that prints Hello World. First, in OpenEdge Progress Developer Studio create either a Client > ChUI or a General > OpenEdge Basic project. The projects generated look like this:
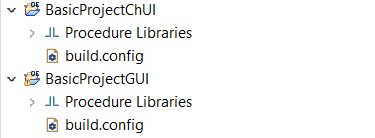 .
.
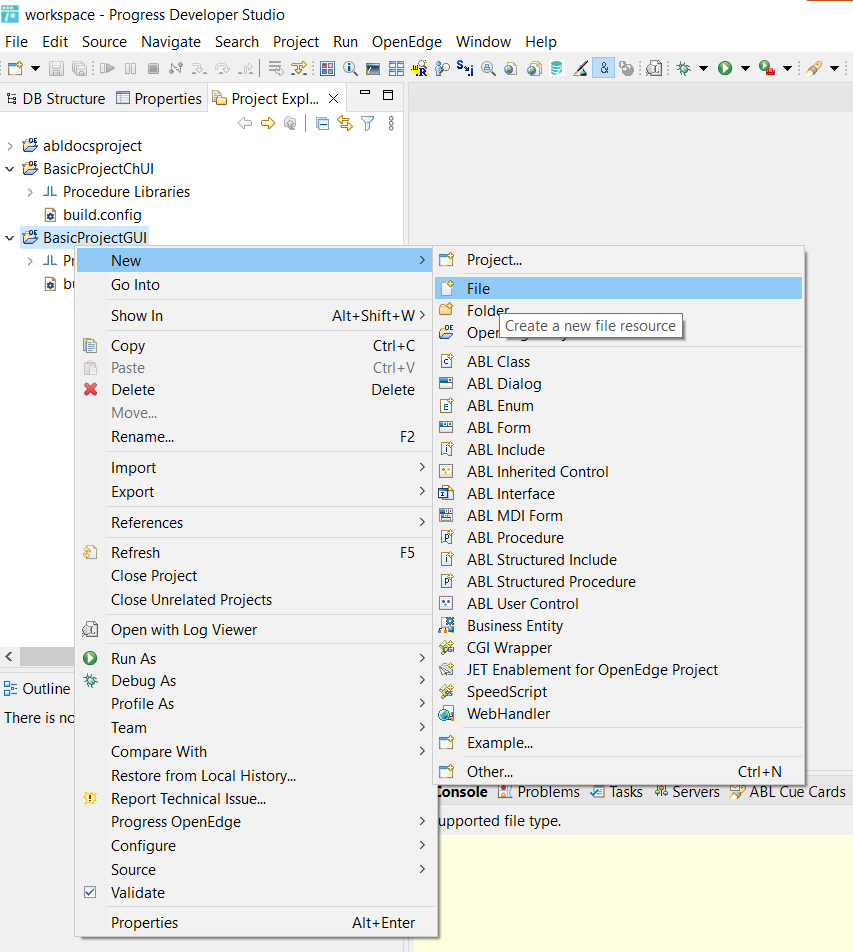
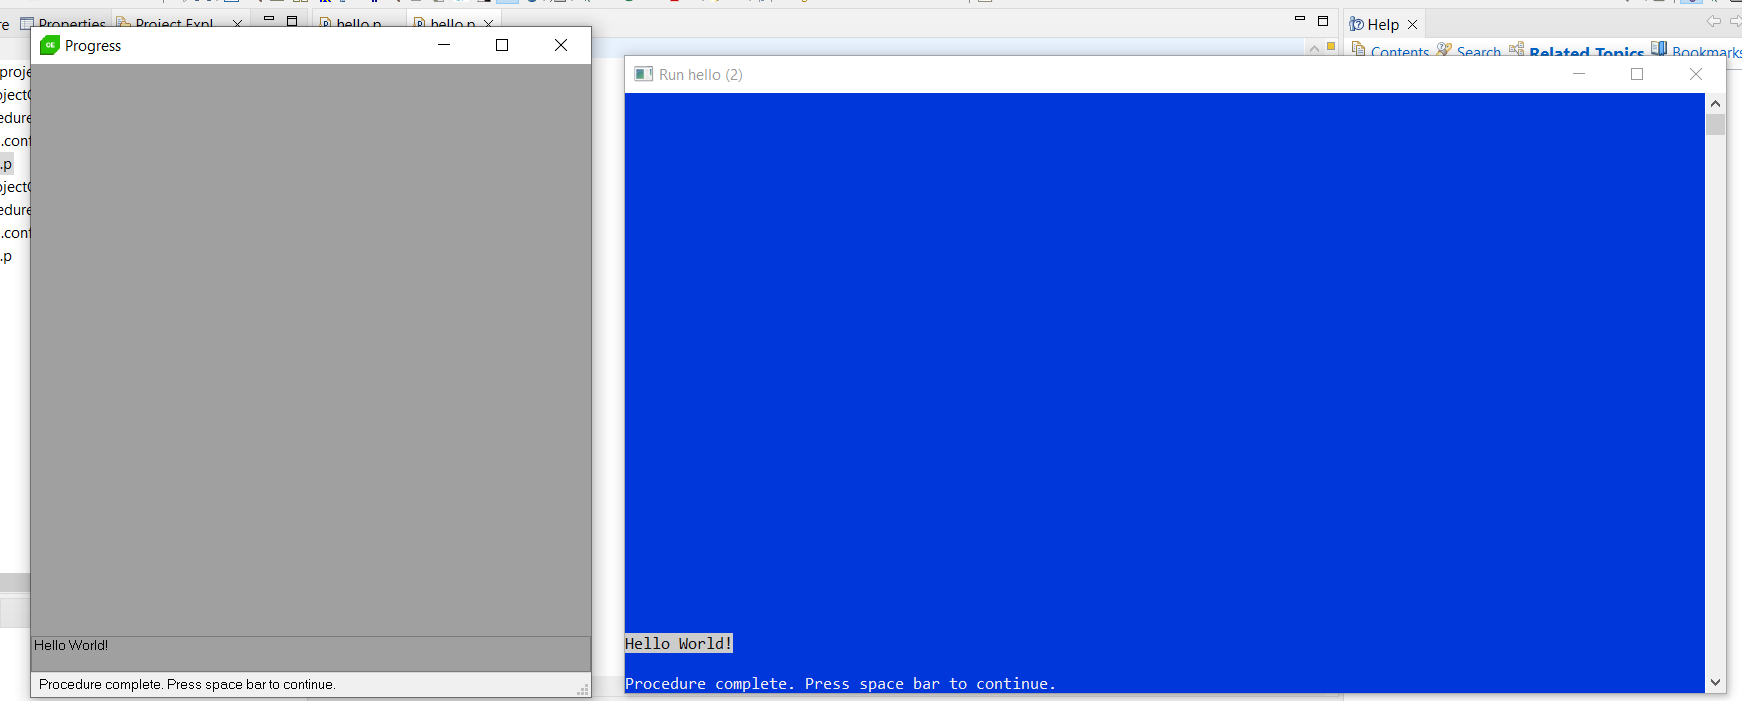
To run a simple program that prints "Hello World!" we just add a runnable file, such as .p, and add the line message "Hello World!". We can run the file by pressing the green RUN button or by right-clicking the file and choosing "Run As" item. See more details about this in the Compiling/Building wiki.
Running the files will produce different results in TTY and in GUI. See below the result for GUI on the left and for GUI on the right.
Project for Unit Testing
An ABLUnit project is created by selecting General > ABLUnit. It generates a tests directory where the tests are supposed to be stored. The Procedure Libraried also contains the gui/ablunit.pl dependency needed for running unit tests. This project type operates with tests and test suites. The user can choose to work with procedure-based or class-based approach. We present the class-based approach.
The steps to run a test are:
- Create a
Test Case Classfile. This generates the same thing as an usualABL Class. - Add the dependency
USING OpenEdge.Core.Assert from propath. - Populate the test class. Here is a sample:
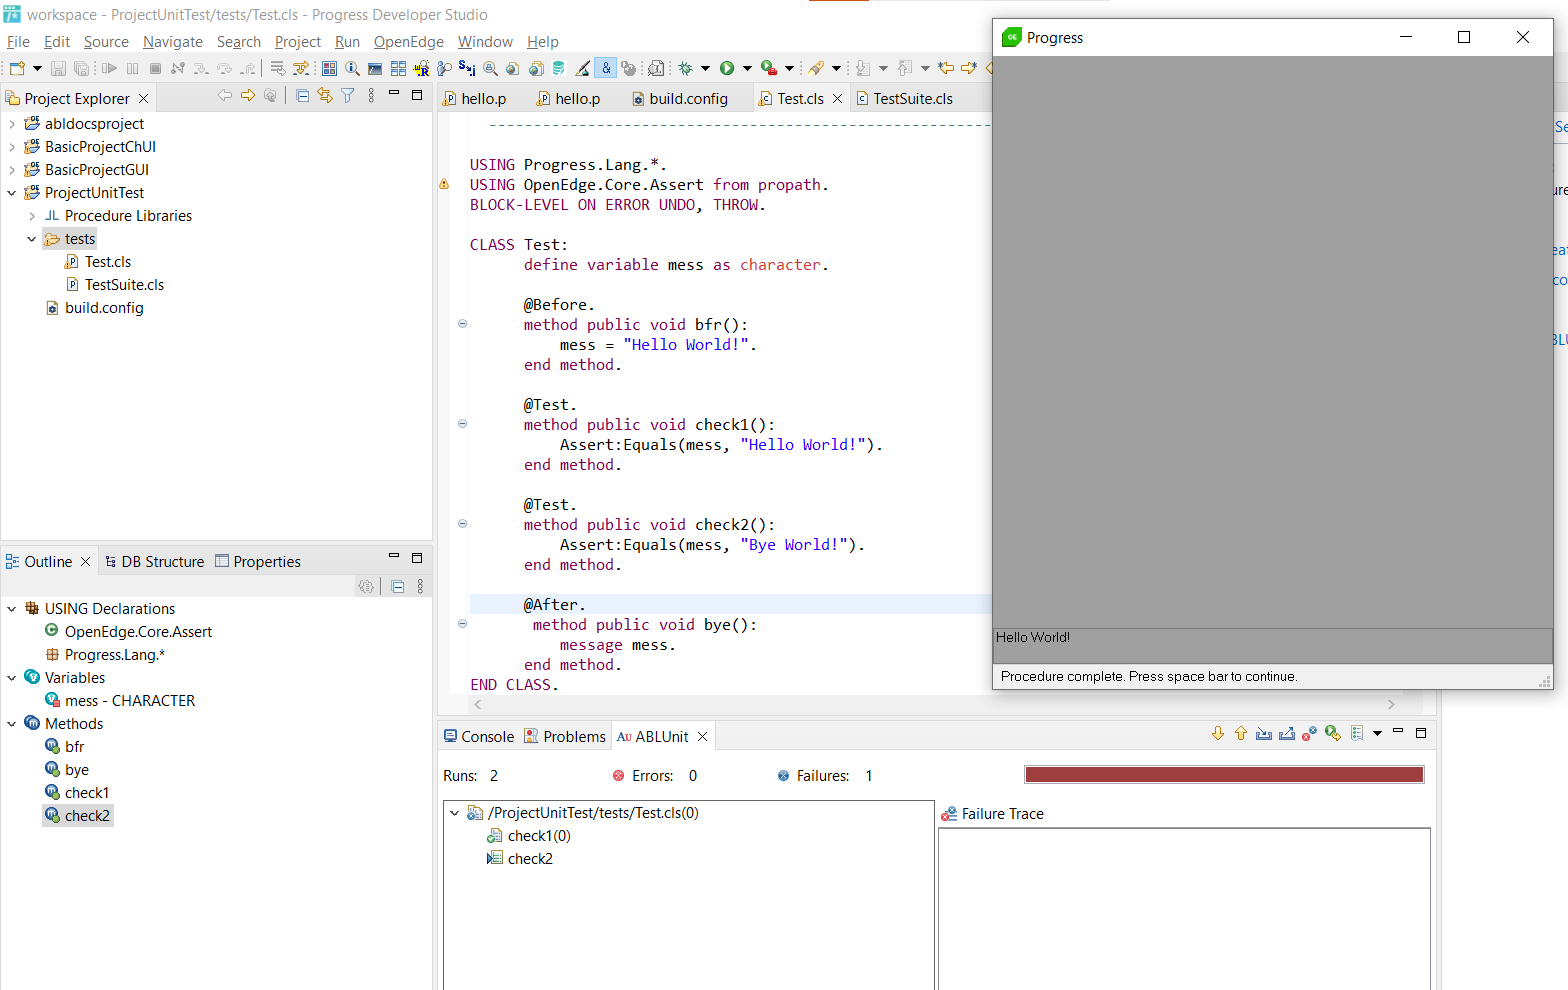
/*------------------------------------------------------------------------ File : Test Purpose : Syntax : Description : Author(s) : florin Created : Thu Mar 27 11:25:47 EET 2025 Notes : ----------------------------------------------------------------------*/ USING Progress.Lang.*. USING OpenEdge.Core.Assert from propath. BLOCK-LEVEL ON ERROR UNDO, THROW. CLASS Test: define variable mess as character. @Before. method public void bfr(): mess = "Hello World!". end method. @Test. method public void check1(): Assert:Equals(mess, "Hello World!"). end method. @Test. method public void check2(): Assert:Equals(mess, "Bye World!"). end method. @After. method public void bye(): message mess. end method. END CLASS. - Run the test directly or via a test suite class. To use a test suite class create a new class (either a
Test Suite Classor a simpleABL Class) and add the test classes as annotation:USING Progress.Lang.*. BLOCK-LEVEL ON ERROR UNDO, THROW. @TestSuite(classes="Test" /* coma separated class list */). CLASS TestSuite: END CLASS.
For more details regarding the annotations and test featuers, see 4GL Unit Testing Wiki page.
The above class will assign "Hello World!" to the mess variable. It will then run two tests - one successful and one not - and then print Hello World!. The passed/failed tests can be visualized in the ABLUnit perspective on the bottom of the screen:
Server-Hosted Projects
All server-hosted project types have to be published on a specific kind of server. The server types are OE AppServer, OE WebServer, OE WebSpeed, PASOE, etc. The servers can be created in the Servers view and they each require a specific type of broker. Brokers are created in the Open Edge Explorer application (by default, at http://localhost:9090/login.jsp). For more details about the creation of servers, see the Deployment Tools in the table.
REST
A REST project is created using the Server > REST option. As of 12.6 version, it requires a OE-PAS server for publishing. This project is meant for developing and deploying REST Web applications with DB integration. Some important features are:
- A built-in AppServer to deploy the app
- ABL auto-completion
- A REST service wizard which maps the resources
Creating a simple end-point to display "Hello World":
1. Make sure the project is associated with an oepas1 server (right click on the server > Add and Remove...).
Give it a name (additionally the Default constructor option can be ticked).
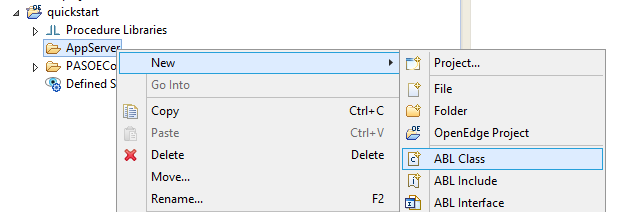
2. Create a resource (e.g. a class) in the AppServer directory:
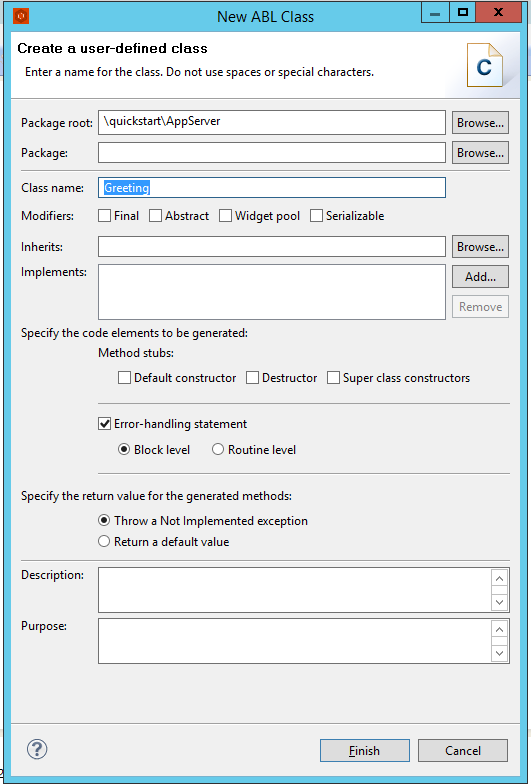
In the class, add a method that will function as an endpoint logic, such as:
    CLASS Greeting:

      METHOD PUBLIC CHARACTER getGreeting(  ):

          RETURN "Hello Wworld!".

      END METHOD.

    END CLASS.
3. Using the Service Wizard, we create a new REST Service. This is done by right clicking on the project name > New > ABL Service.
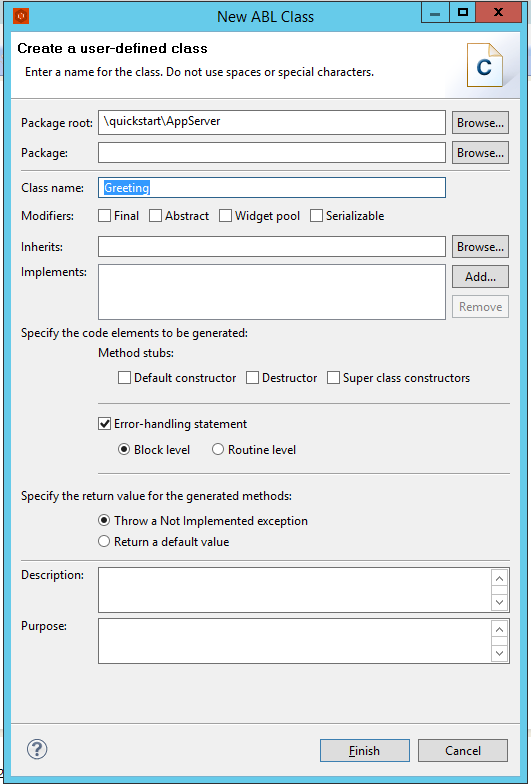
After giving it a name and setting the URI, press finish. The service will appear under the Defined Services folder in the project structure. Double click on it and the REST Resource URI Editor opens:
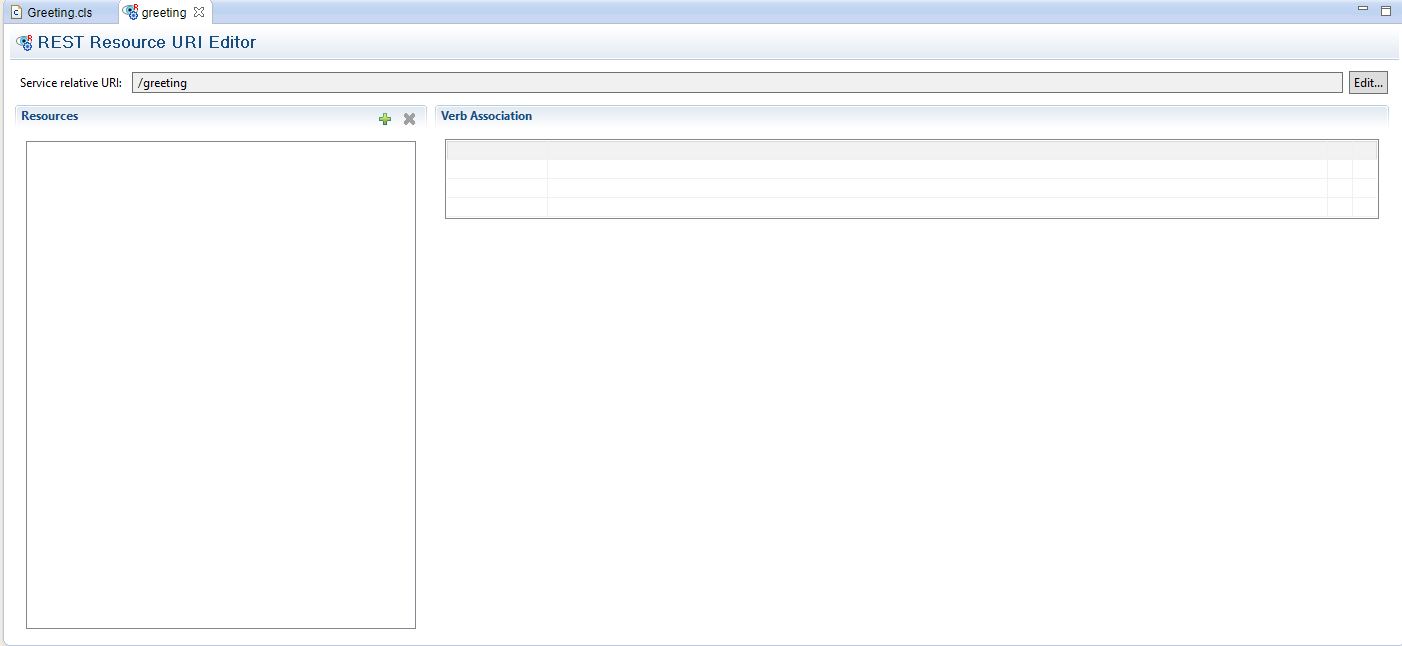
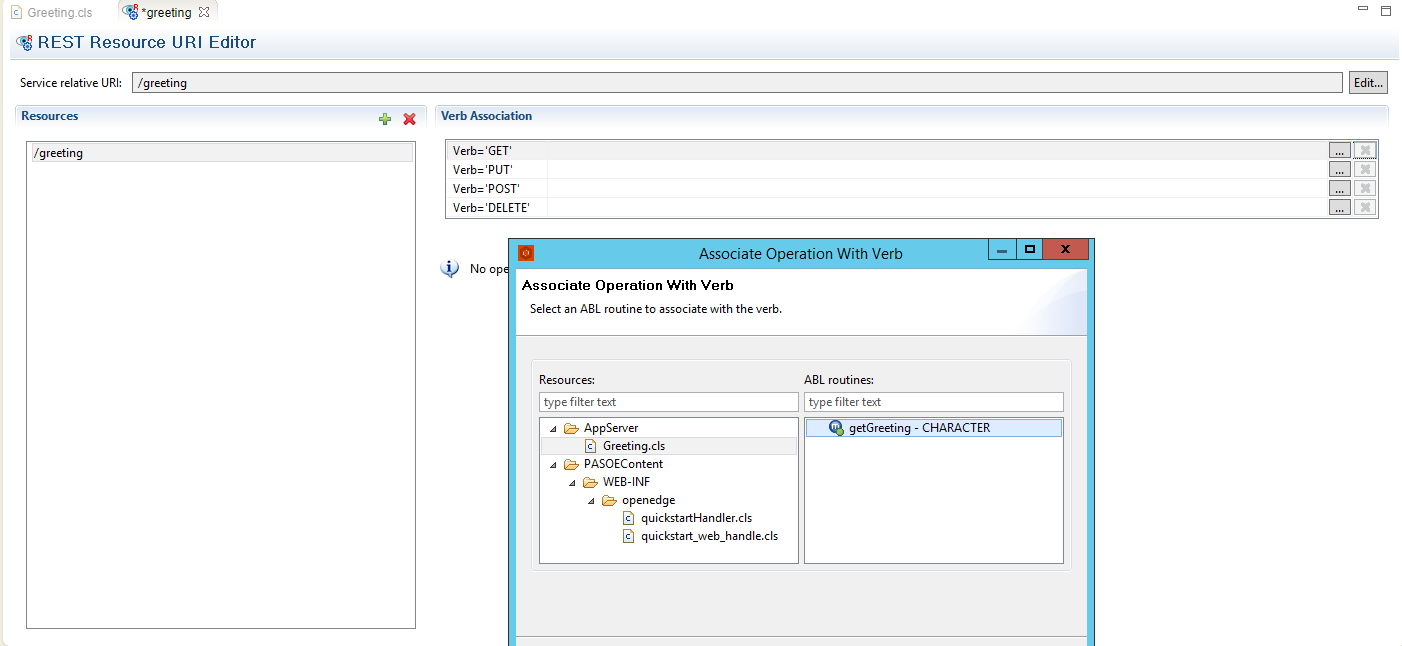
By pressing the green '+', the user can add a resource URI to the server. Each resource is associated to the 4 verbs - GET, PUT, POST, DELETE. We can add a resource /greeting and associate the GET with the getGreeting() method.
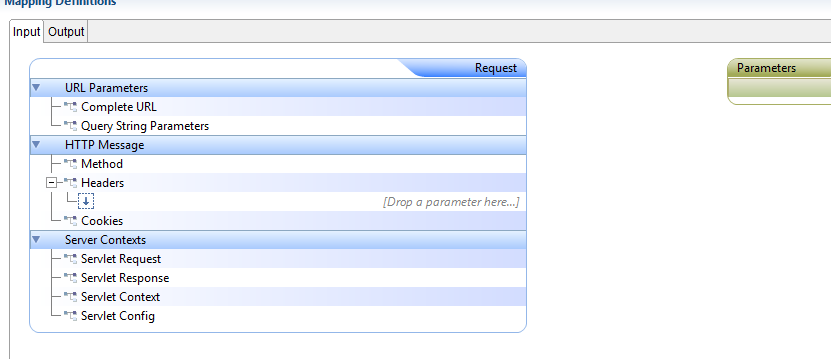
Under the Mapping Definitions we can associated the method-specific parameters (input/output) to the request/response: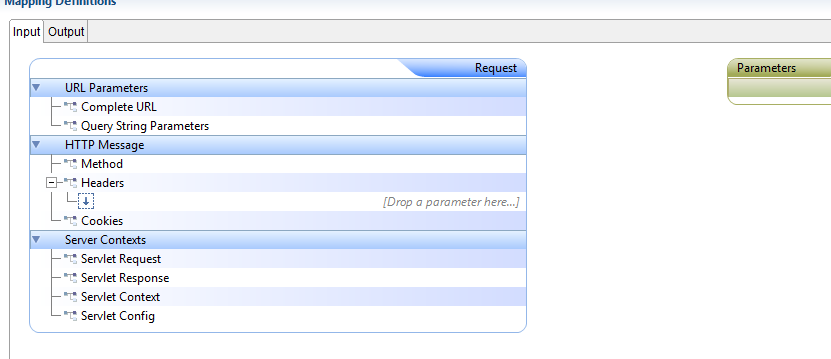
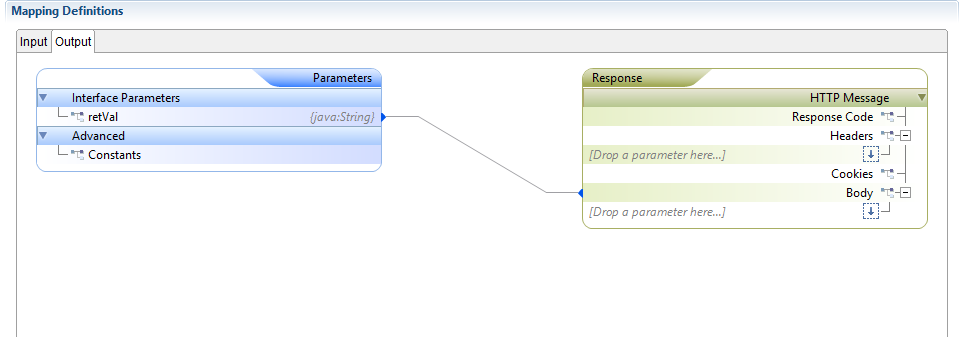
In our case there are no parameters to the method, but if there were, they would have to be mapped, for example, to the query string params. In the output tab, we mapped the returned value to the body of the response. The mappings are done via connecting lines. Once this is done, the service has to be saved with CTRL+S.
Notice that after this mapping, OE automatically annotated the resource class:
@openapi.openedge.export FILE(type="REST", executionMode="singleton", useReturnValue="false", writeDataSetBeforeImage="false").
...
    @openapi.openedge.export(type="REST", useReturnValue="false", writeDataSetBeforeImage="false").
    METHOD PUBLIC CHARACTER getGreeting( ):
        ...
END CLASS.
4. After this is done, we start the oepas1 server and access the endpoint localhost:8810/<project name>/rest/<service name>/resource in a browser or a tool specialized with sending requests.
AppServer
An AppServer project is created using in the Server > APSV option. This project type requires an AppServer type of server for publishing. This project allows running ABL business logic that can be made available to application clients as application services. By creating and publishing an application to local or remote AppServer, one can test the application in a different environment than the current workspace.
The AppServer can be seen as a container where remotely called procedures are defined. Suppose we ass a greeting.p procedure with the following content:
PROCEDURE getGreeting:
    DEFINE OUTPUT PARAMETER cMessage AS CHARACTER NO-UNDO.
    cMessage = "Hello World, from the AppServer!".
END PROCEDURE.
In order to call this procedure, first one has to make sure the project is added to the AppServer instance from the servers view. To do this, right click on the server > Add and Remove... and make sure the server is running (the AS is published).
Then, in another project, the procedure can be called remotely using:
def var hAppSrv as handle.
def var h1 as handle.
def var ret as logical.
DEFINE VARIABLE hProc    AS HANDLE      NO-UNDO.

DEFINE VARIABLE cResult  AS CHARACTER   NO-UNDO.
def var resultt as char.

create server hAppSrv.

ret = hAppSrv:connect("-AppService asAOA -H localhost -S 5162","","").

if not ret then
    return error "Failed to connect to AppServer".
else
do:
    message "Connected to AppServer" VIEW-AS ALERT-BOX.
    run proced.p  PERSISTENT SET hProc  on server  hAppSrv.

    RUN getGreeting IN hProc (OUTPUT cResult).

    MESSAGE "Result from AppServer:" SKIP cResult VIEW-AS ALERT-BOX INFO.
end.

ret = hAppSrv:disconnect().

delete object hAppSrv.
And the Hello from AppServer! will be printed to the user. The example above is a stateful and synchronous - the control blocks until the answer is received. A state-free connection can be achieved by using the SINGLE-RUN SET handle-variable or SINGLETON SET SEThandle-variable instead of RUN PERSISTENT, which causes the client to be bound to the AppServer:
DEFINE VARIABLE hAppSrv      AS HANDLE NO-UNDO.
DEFINE VARIABLE procHandle AS HANDLE NO-UNDO.
DEFINE VARIABLE cResult  AS CHARACTER   NO-UNDO.

CREATE SERVER hAppSrv.
hAppSrv:CONNECT("-AppService asAOA -H localhost -S 5162","","").

RUN proced.p SINGLE-RUN SET procHandle ON SERVER hAppSrv.
RUN getGreeting IN procHandle (OUTPUT cResult).
message cResult.
DELETE PROCEDURE procHandle.
Asynchronous calls are achieved using the ASYNCHRONOUS [SET] options, more information is in this OE wiki
WebSpeed
A WebSpeed project is created using in the Server > WEB option. This project type requires an WebSpeed Server for publishing. It operates with the following file types:
- HTML with CSS and JavaScript
- SpeedScript objects, which use SpeedScript code embedded in the HTML file. While the JavaScript executes on the client-side browser, this script code executes on the server side, so it can access, for example, the database. When the user creates a new SpeedScript, an
HTMLand a.wfile are generated. The changes from theHTMLare reflected in the.wtoo. - CGI Wrappers - files also based on the SpeedScript language, but without an
HTMLfile associated. They are compiled and dynamically createHTMLcontent returned to the client browser.
Creating a Hello World endpoint:
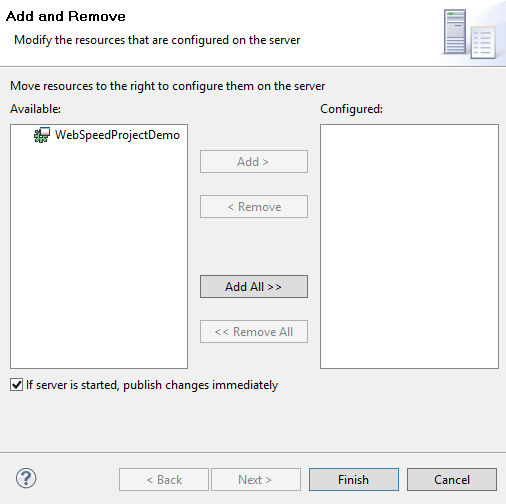
1. First, if not already done at project creation, add the project resource to the web speed server. Right click on the server from the Servers view and choose Add or Remove:
 .
.
2. Creating a file as endpoint. For example, for a SpeedScript object, we can have the following content of the HTML file:
<!DOCTYPE HTML PUBLIC "-//IETF//DTD HTML//EN">
<HTML>
<HEAD>
<META NAME="AUTHOR" CONTENT="Your Name">
<TITLE>WebSpeed Script</TITLE>
<style>
  body {
    color: green; /* This will make all text inside the body green */
  }
</style>
<SCRIPT LANGUAGE="SpeedScript">
/* Create an unnamed pool to store all the widgets created by this procedure.
   This is a good default which assures that this procedure's triggers and
   internal procedures will execute in this procedure's storage, and that
   proper cleanup will occur on deletion of the procedure. */
CREATE WIDGET-POOL.
</SCRIPT>
</HEAD>

<BODY>
<p> Hello world </p>
<SCRIPT LANGUAGE="SpeedScript">
  display {&WEBSTREAM} "Hello World".
</SCRIPT>
</SCRIPT>
</BODY>
</HTML>
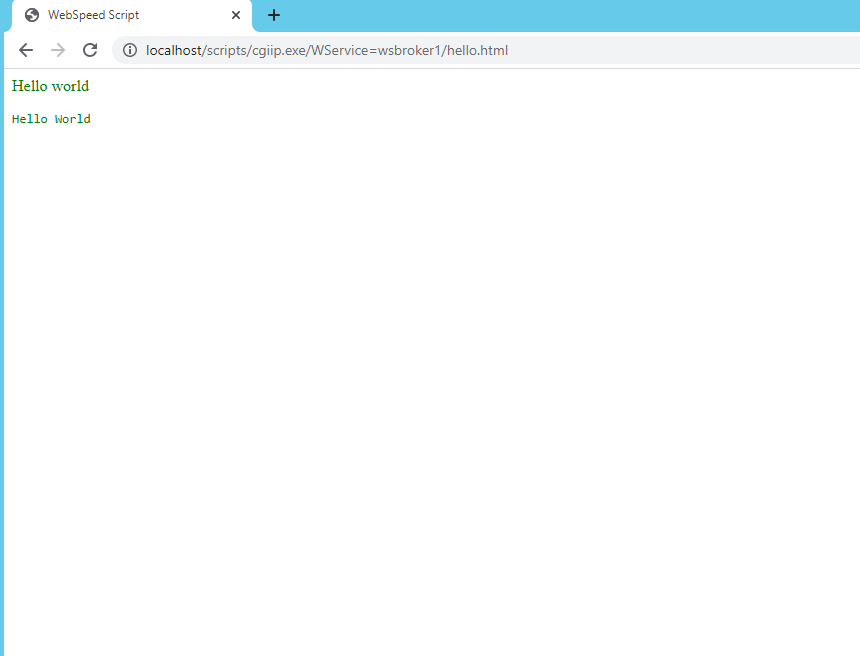
Note that we use CSS. We also output "Hello World" both using native HTML and by using SpeedScript.
3. Publish to the server and start the server. See more details in the Project Management wiki
4. Access the endpoint. This can be done either in a browser or in Studio Devloper, by running the HTML file and choosing "Run on the Server". The name of the file has to be specified in the URI. For WebSpeed objects, the HTML and the .w files can be used interchangeably.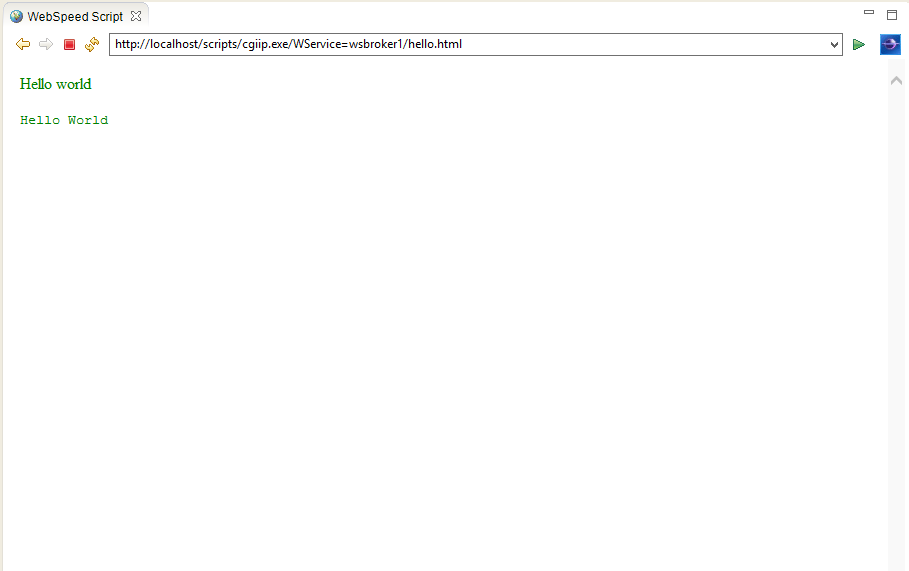
 .
.