Accessing the Analytics Web Application
Introduction
The Code Analytics tools are implemented as a web application with a thin javascript-based browser client. No plugins, applets or other support is needed for access.
Before trying to access the application, the Report Server must already have been started.
Supported Browsers
Any modern/recent browser should work. Although this has gotten some testing on IE and Safari, there are some known JavaScript drawing issues with IE. Most testing has occurred on Chrome and Firefox. Both of these work well, and are recommended for the best user experience:
Chrome 61.0.3163.91 (Official Build) (64-bit)
Firefox 55.0.2 (64-bit)
Importing the Root CA
If you are using the default configuration for the template application, the certificates being used are the same as those created for the Hotel sample application. To ensure that the browser treats these certificates as trusted, import the root CA using these instructions.
Install the Root CA in Your Browser
The Hotel GUI application uses a self-signed root CA for the certificates which are used for https sessions or for SSL communication between the FWD Application Server and the FWD Clients. When accessing a FWD Web Client, unless the self-signed root CA is imported in your browser as a trusted root CA, you will be prompted by your browser to add an exception for the certificate. You can solve this by importing the hotel root CA into your browser. Also, note that this will work only if you access the FWD Web Client and the FWD Embedded App Demo via localhost - the SSL certificates have been created for localhost.
Depending on your browser, follow the steps below to install the root certificate. In all cases, the root CA is saved in the deploy/server/hotel-root.der file.
Installing the Root CA in Mozilla Firefox
For Firefox, follow these steps:- Open the
Preferencesmenu, look for theAdvancedsub-menu. - Select
Certificatesand click onView Certificates.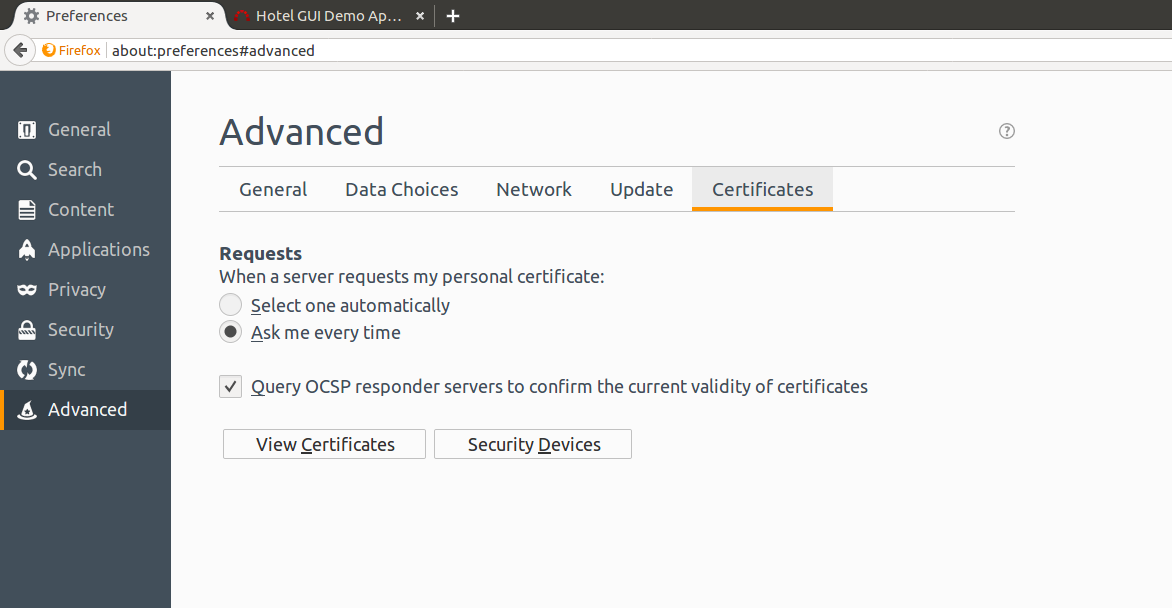
- Select
Authorities.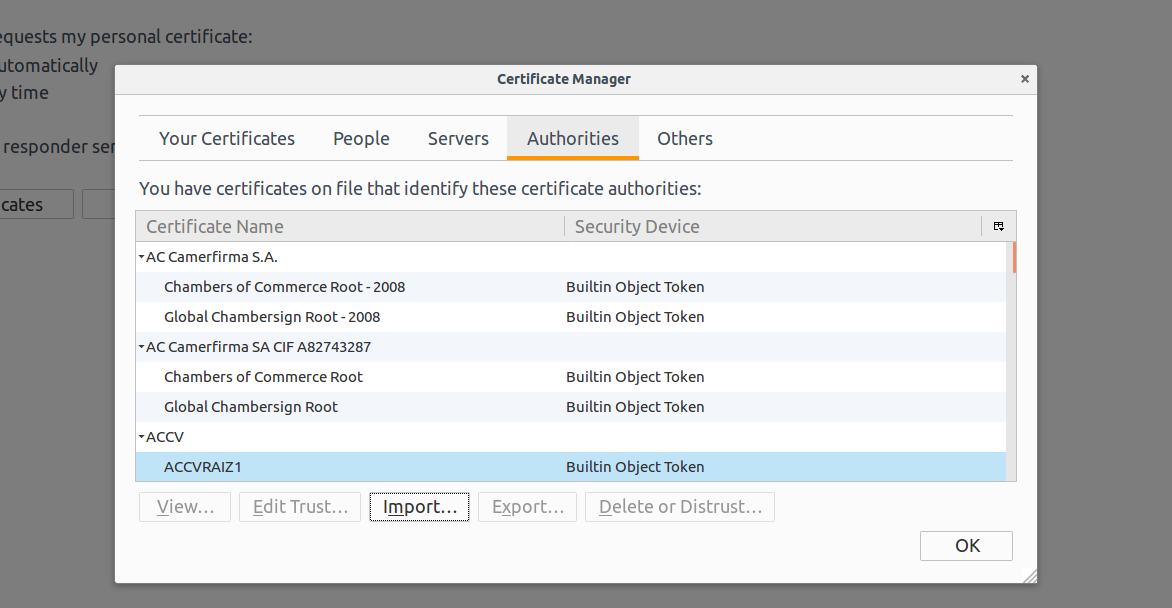
- Click the
Import...button. - Search for and select the
deploy/server/hotel-root.derfile. - Select the first option,
Trust this CA to identify websites..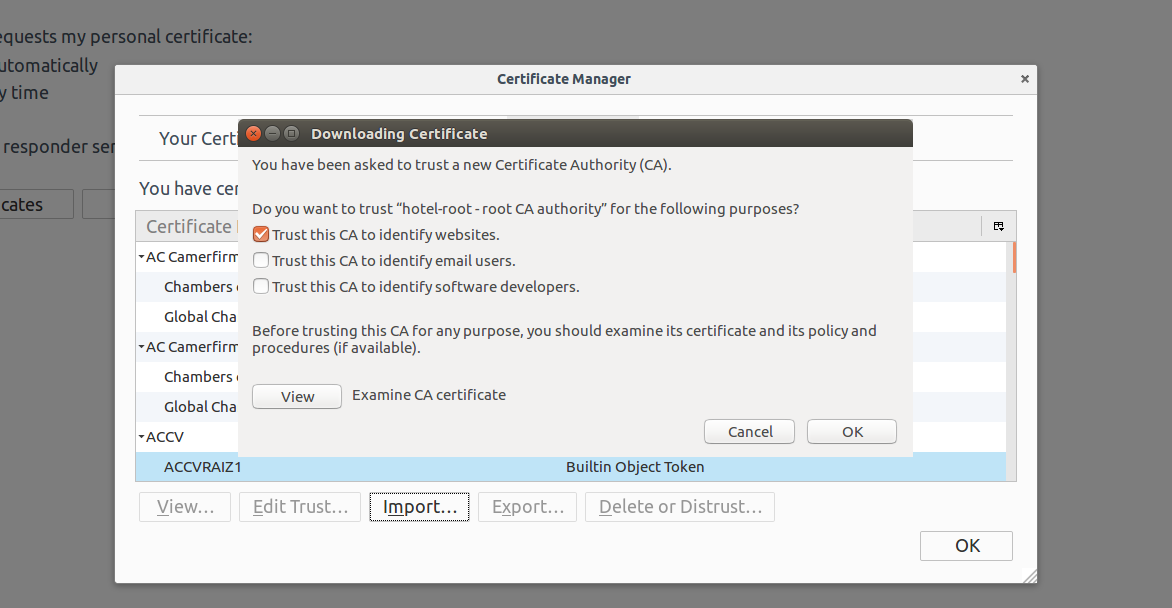
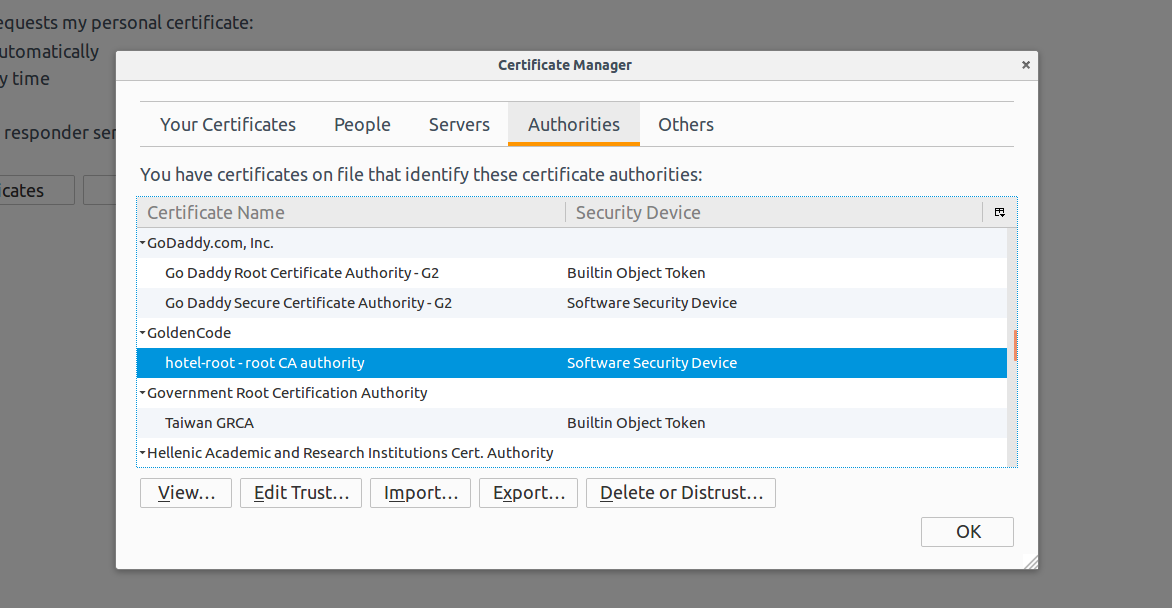
- Click OK and the root CA will be imported, and you will find it in this list.
Installing the Root CA in Google Chrome on Ubuntu
For Google Chrome on Ubuntu, follow these steps:- Open the
Settingsmenu, click onShow Advanced.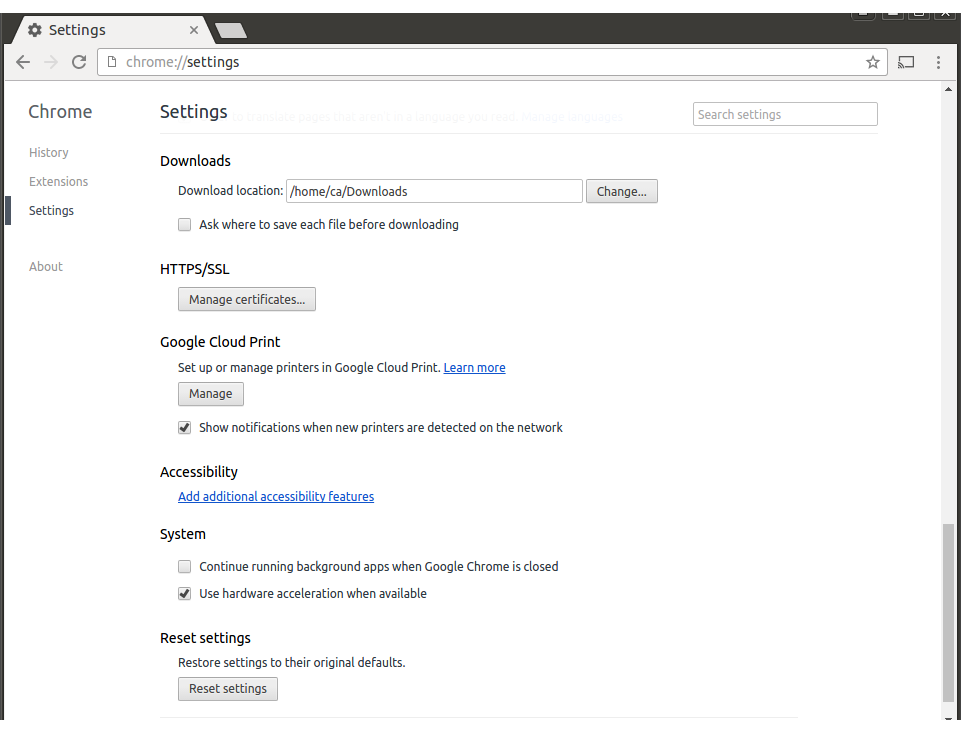
- Click on
Manage Certificates, then selectAuthorities.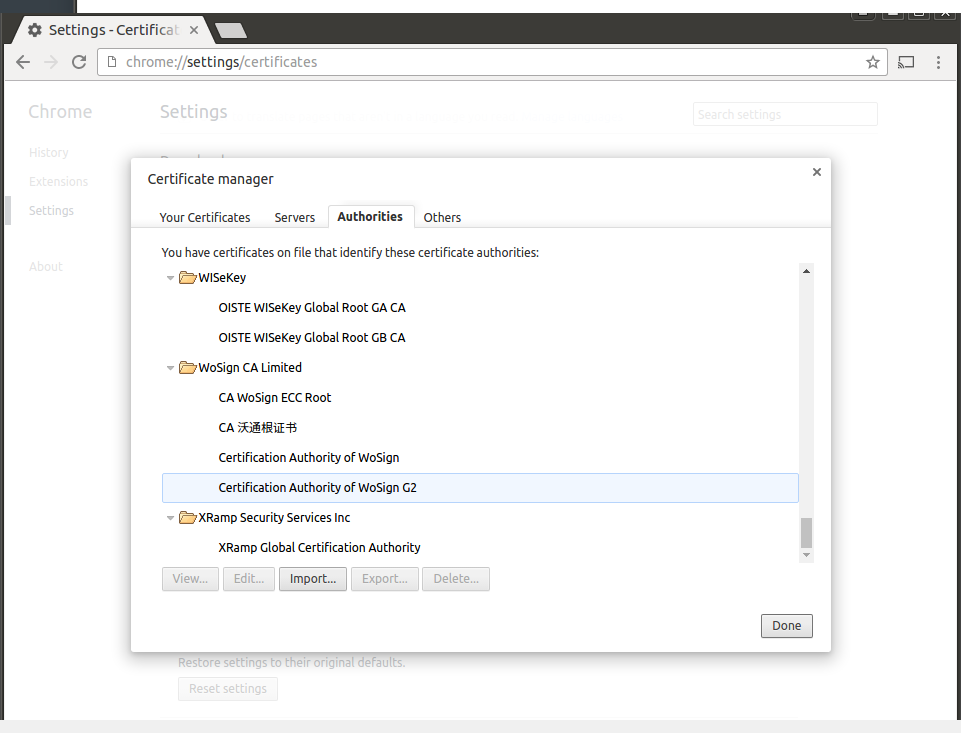
- Click on
Import..., traverse the folders to find thedeploy/server/hotel-root.derfile. If the selection dialog doesn't show it, select theDER-encoded binary, single certificatefrom the lower-right selection list. ClickOpenafter you've selected the.derfile. - Select the first option,
Trust this certificate for identifying websites..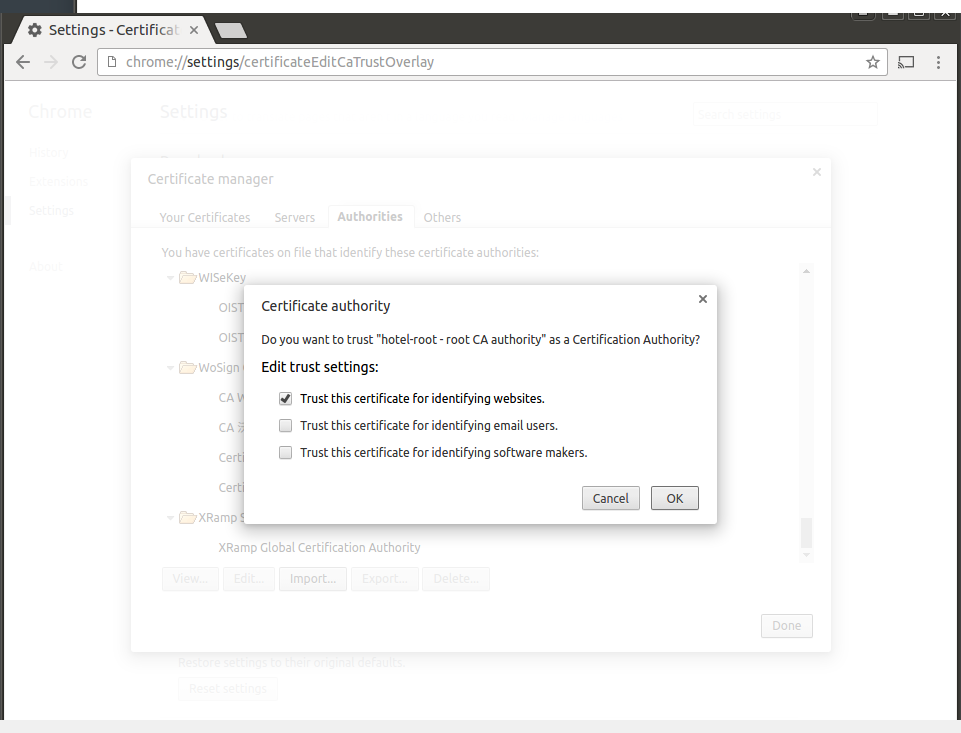
- Click OK and the root CA will be imported, and you will find it in this list.

Installing the Root CA in Google Chrome on Windows
- Like in Linux, open the
Settingsmenu, click onShow Advanced, then click onManage Certificates. - This
Certificatesdialog opens.
- Click on
Import.... The Certificate Import Wizard opens.
- Click
Next >.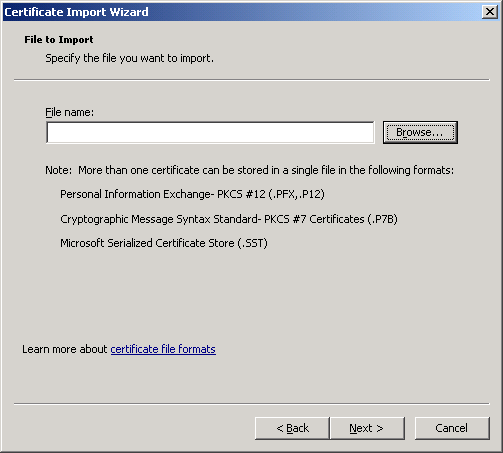
- Type in the path to the certificate (
c:\projects\hotel\deploy\server\hotel-root.der), or use theBrowsebutton to navigate and select the certificate. Then clickNext >.
- Select
Place all certificates in the following storeif not already selected.Trusted Root Certification Authoritiesshould be selected as in screen-shot. ClickNext >.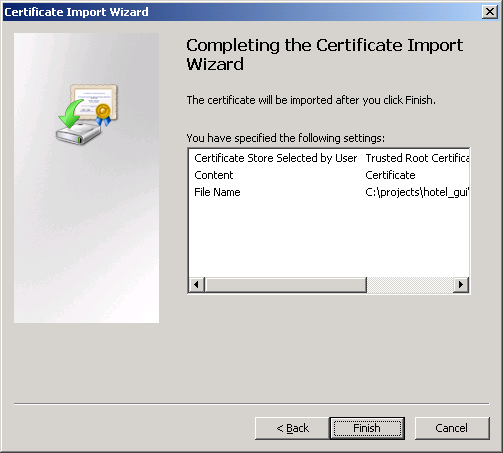
- Confirm the import by pressing
Finish. The certificate is imported and you can see it in the list.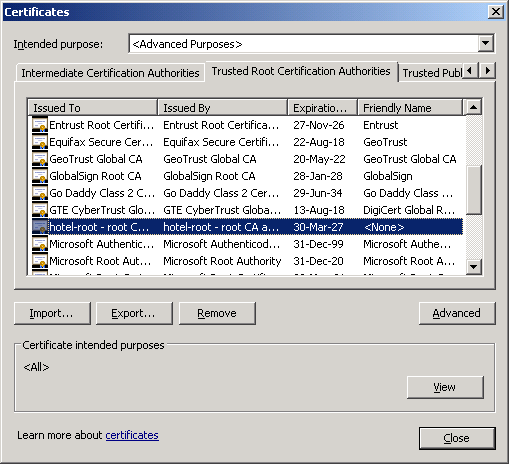
URL
By default, the URL for the report server is https://<report_server_ip_address>:8443. If you are accessing it from the local system, then https://localhost:8443 will work.
Login
The Code Analytics provides a very deep view into the source code and schemata of an application. For most organizations, this will certainly be highly confidential information. For this reason, the web application is secured using both HTTPS and a session-level user authentication.
At this time, only an admin user is provided. There is no user-interface to add other users or to otherwise manage users and passwords. This will be changed in a subsequent release.
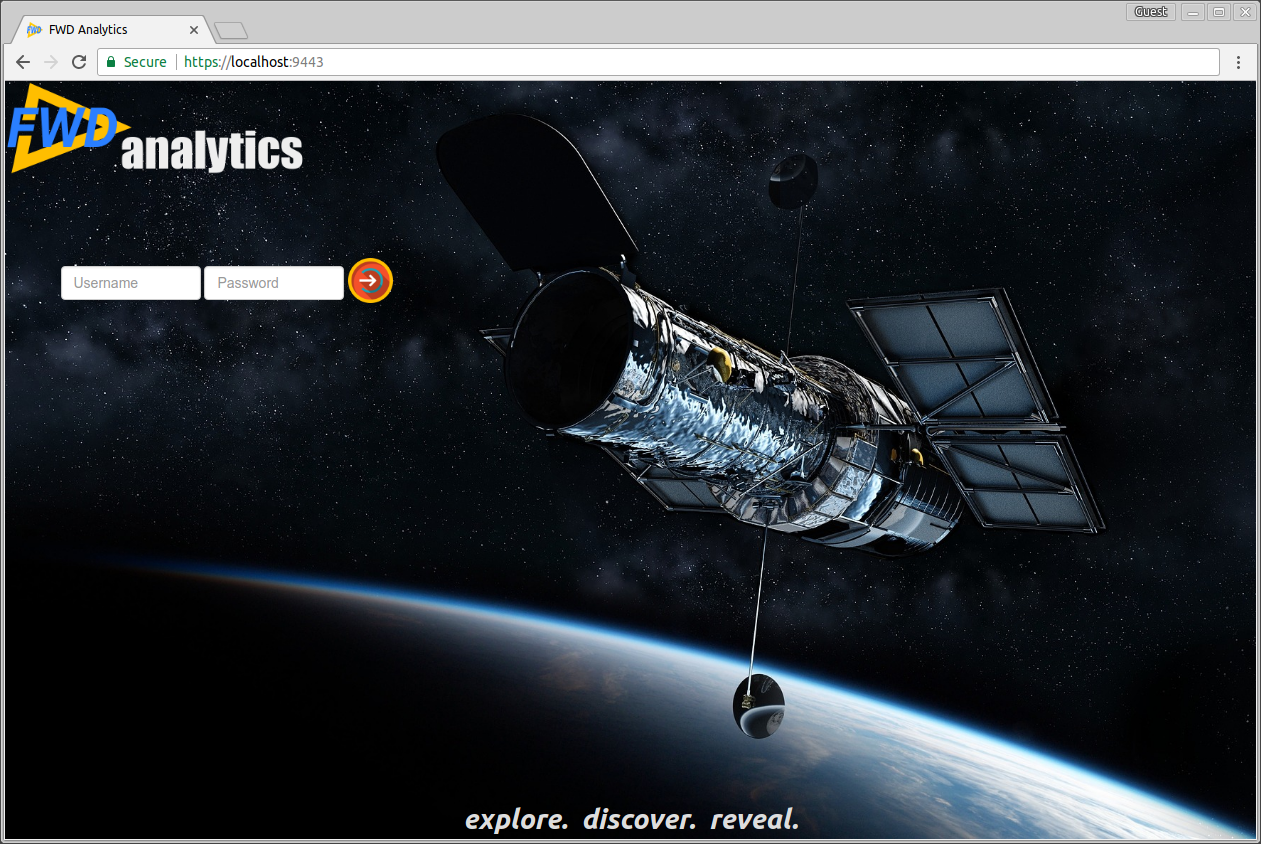
This is the screen the user will see when first connecting to the report server:
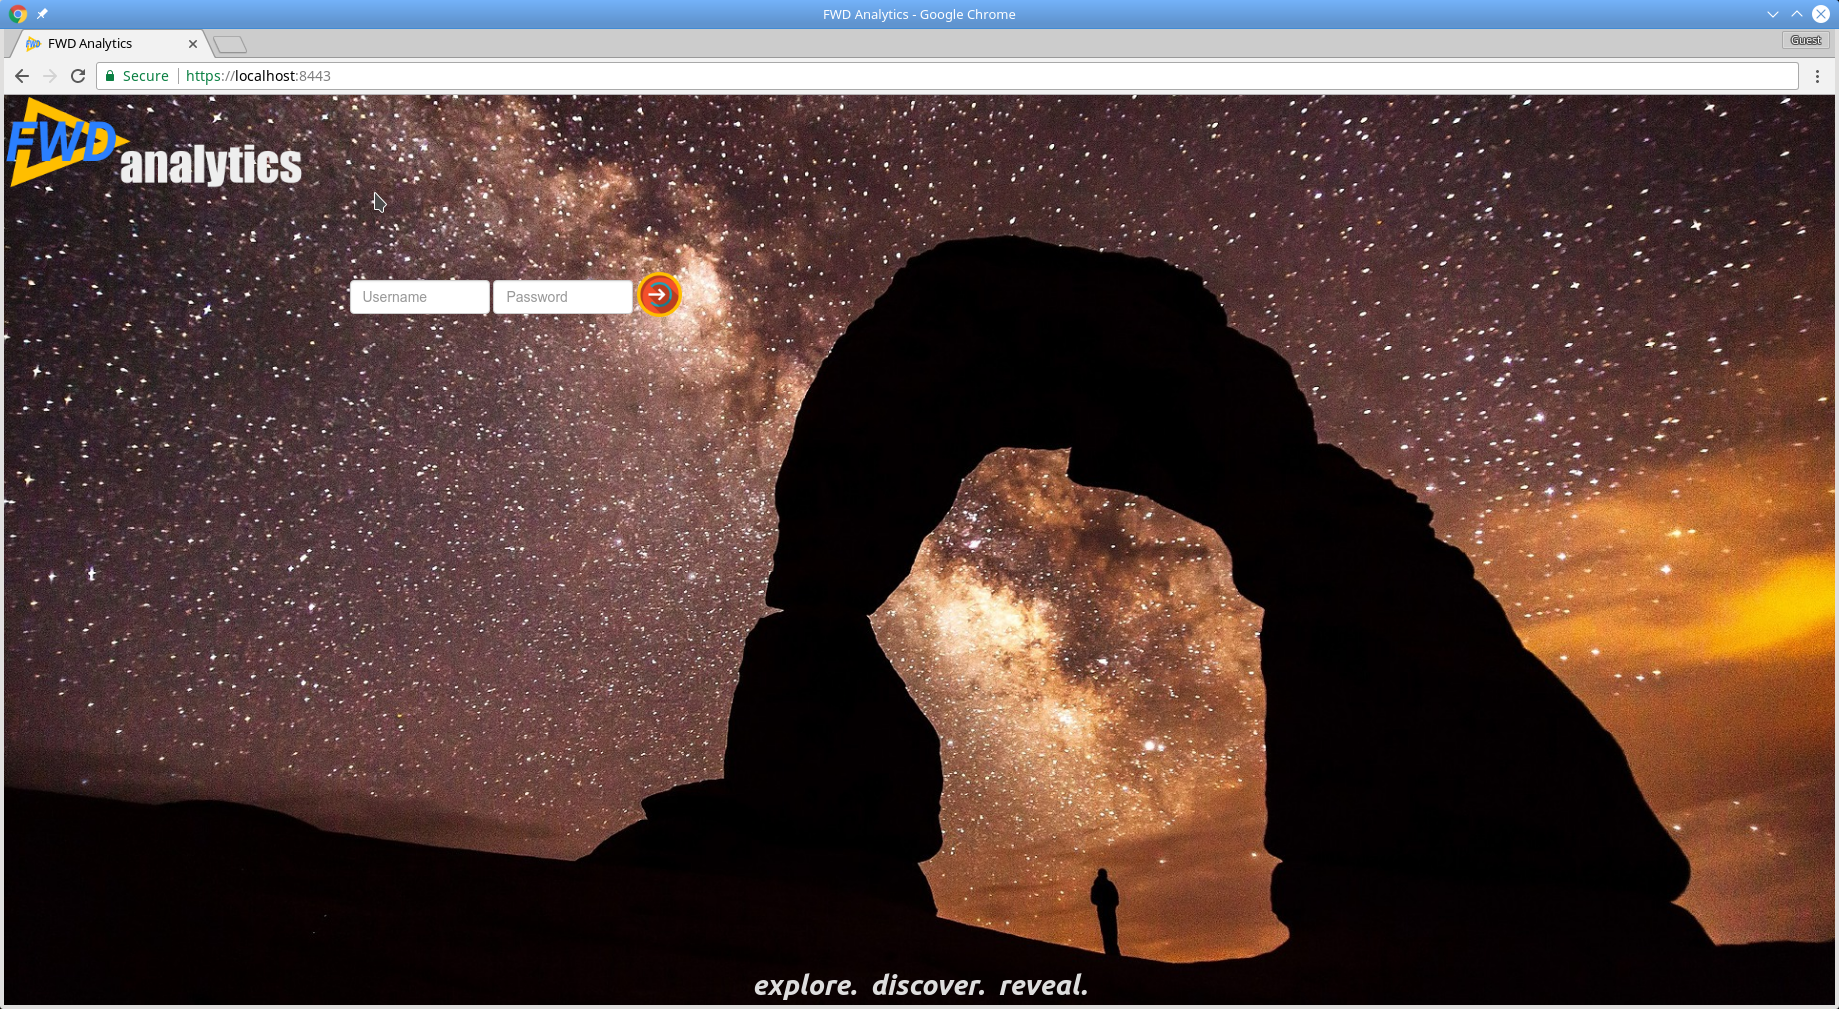
Use admin for the username. The initial password will be the value configured as the appname in the prepare_template.sh. This can also be found later by looking in the build.properties and finding the line that has appname=.
The first successful login will cause a password change prompt to appear. See Password Change and Management for details.
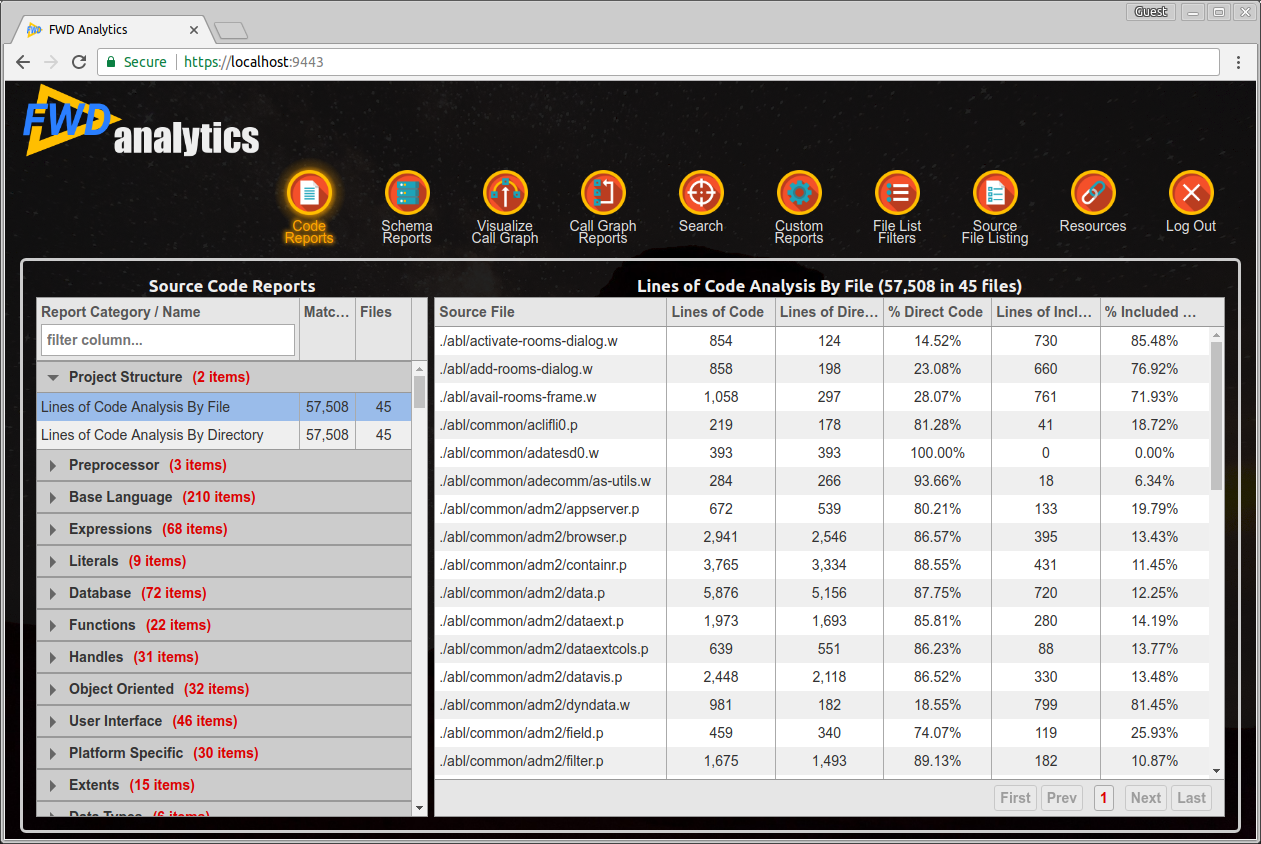
After successful login, the Code Reports screen will be shown:

Password Change and Management
By default, there is a password change required flag turned on for each user. If this flag is on, the following password change prompt will be presented when the user successfully authenticates:
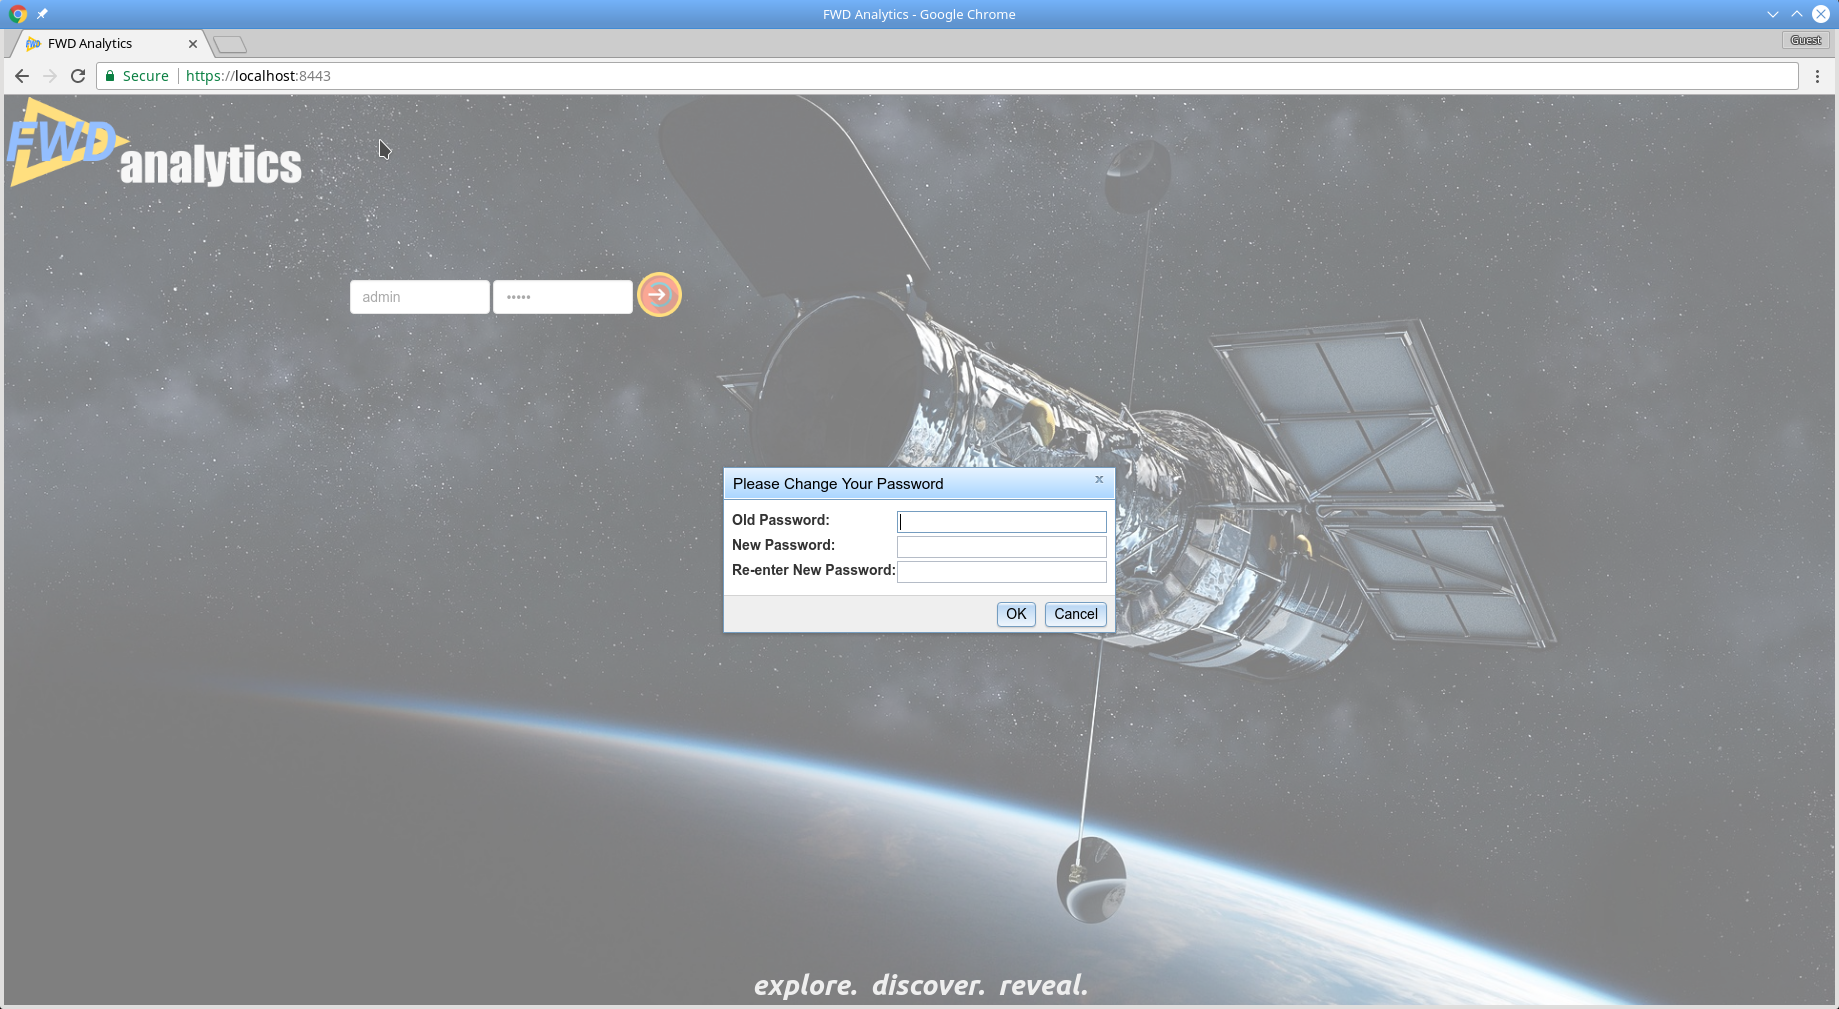
If the user changes the password, then the password change required flag will be turned off. Subsequent logins will not prompt to change the password.
It is acceptable for the user to use the Cancel button at this prompt. The main screen will then be presented, but the password change required flag will NOT be turned off. This means that at the next successful login, this prompt will appear again. This will keep happening until the password is changed. If multiple users share the same account, it is best to change the password so that one user does not accidentally change the password (locking the other users out).
New passwords must match these rules:
- cannot be the same as the current password;
- must be at least 6 characters long;
- must contain at least one letter;
- must contain at least one digit.
Any changed password will be automatically exported to rpt/auto_export_users.xml when the report server exits. Whenever the report database is cleared and recalculated (e.g. using ant rpt), these exported passwords will be automatically imported into the database. For this reason, the password change will only ever need to be done once.
Logout
To end the session with the Code Analytics web application, use the Log Out menu item:

© 2004-2017 Golden Code Development Corporation. ALL RIGHTS RESERVED.